Hiking Trolltunga & overnight camp: Your practical guide visiting the Troll’s Tongue
INTRO
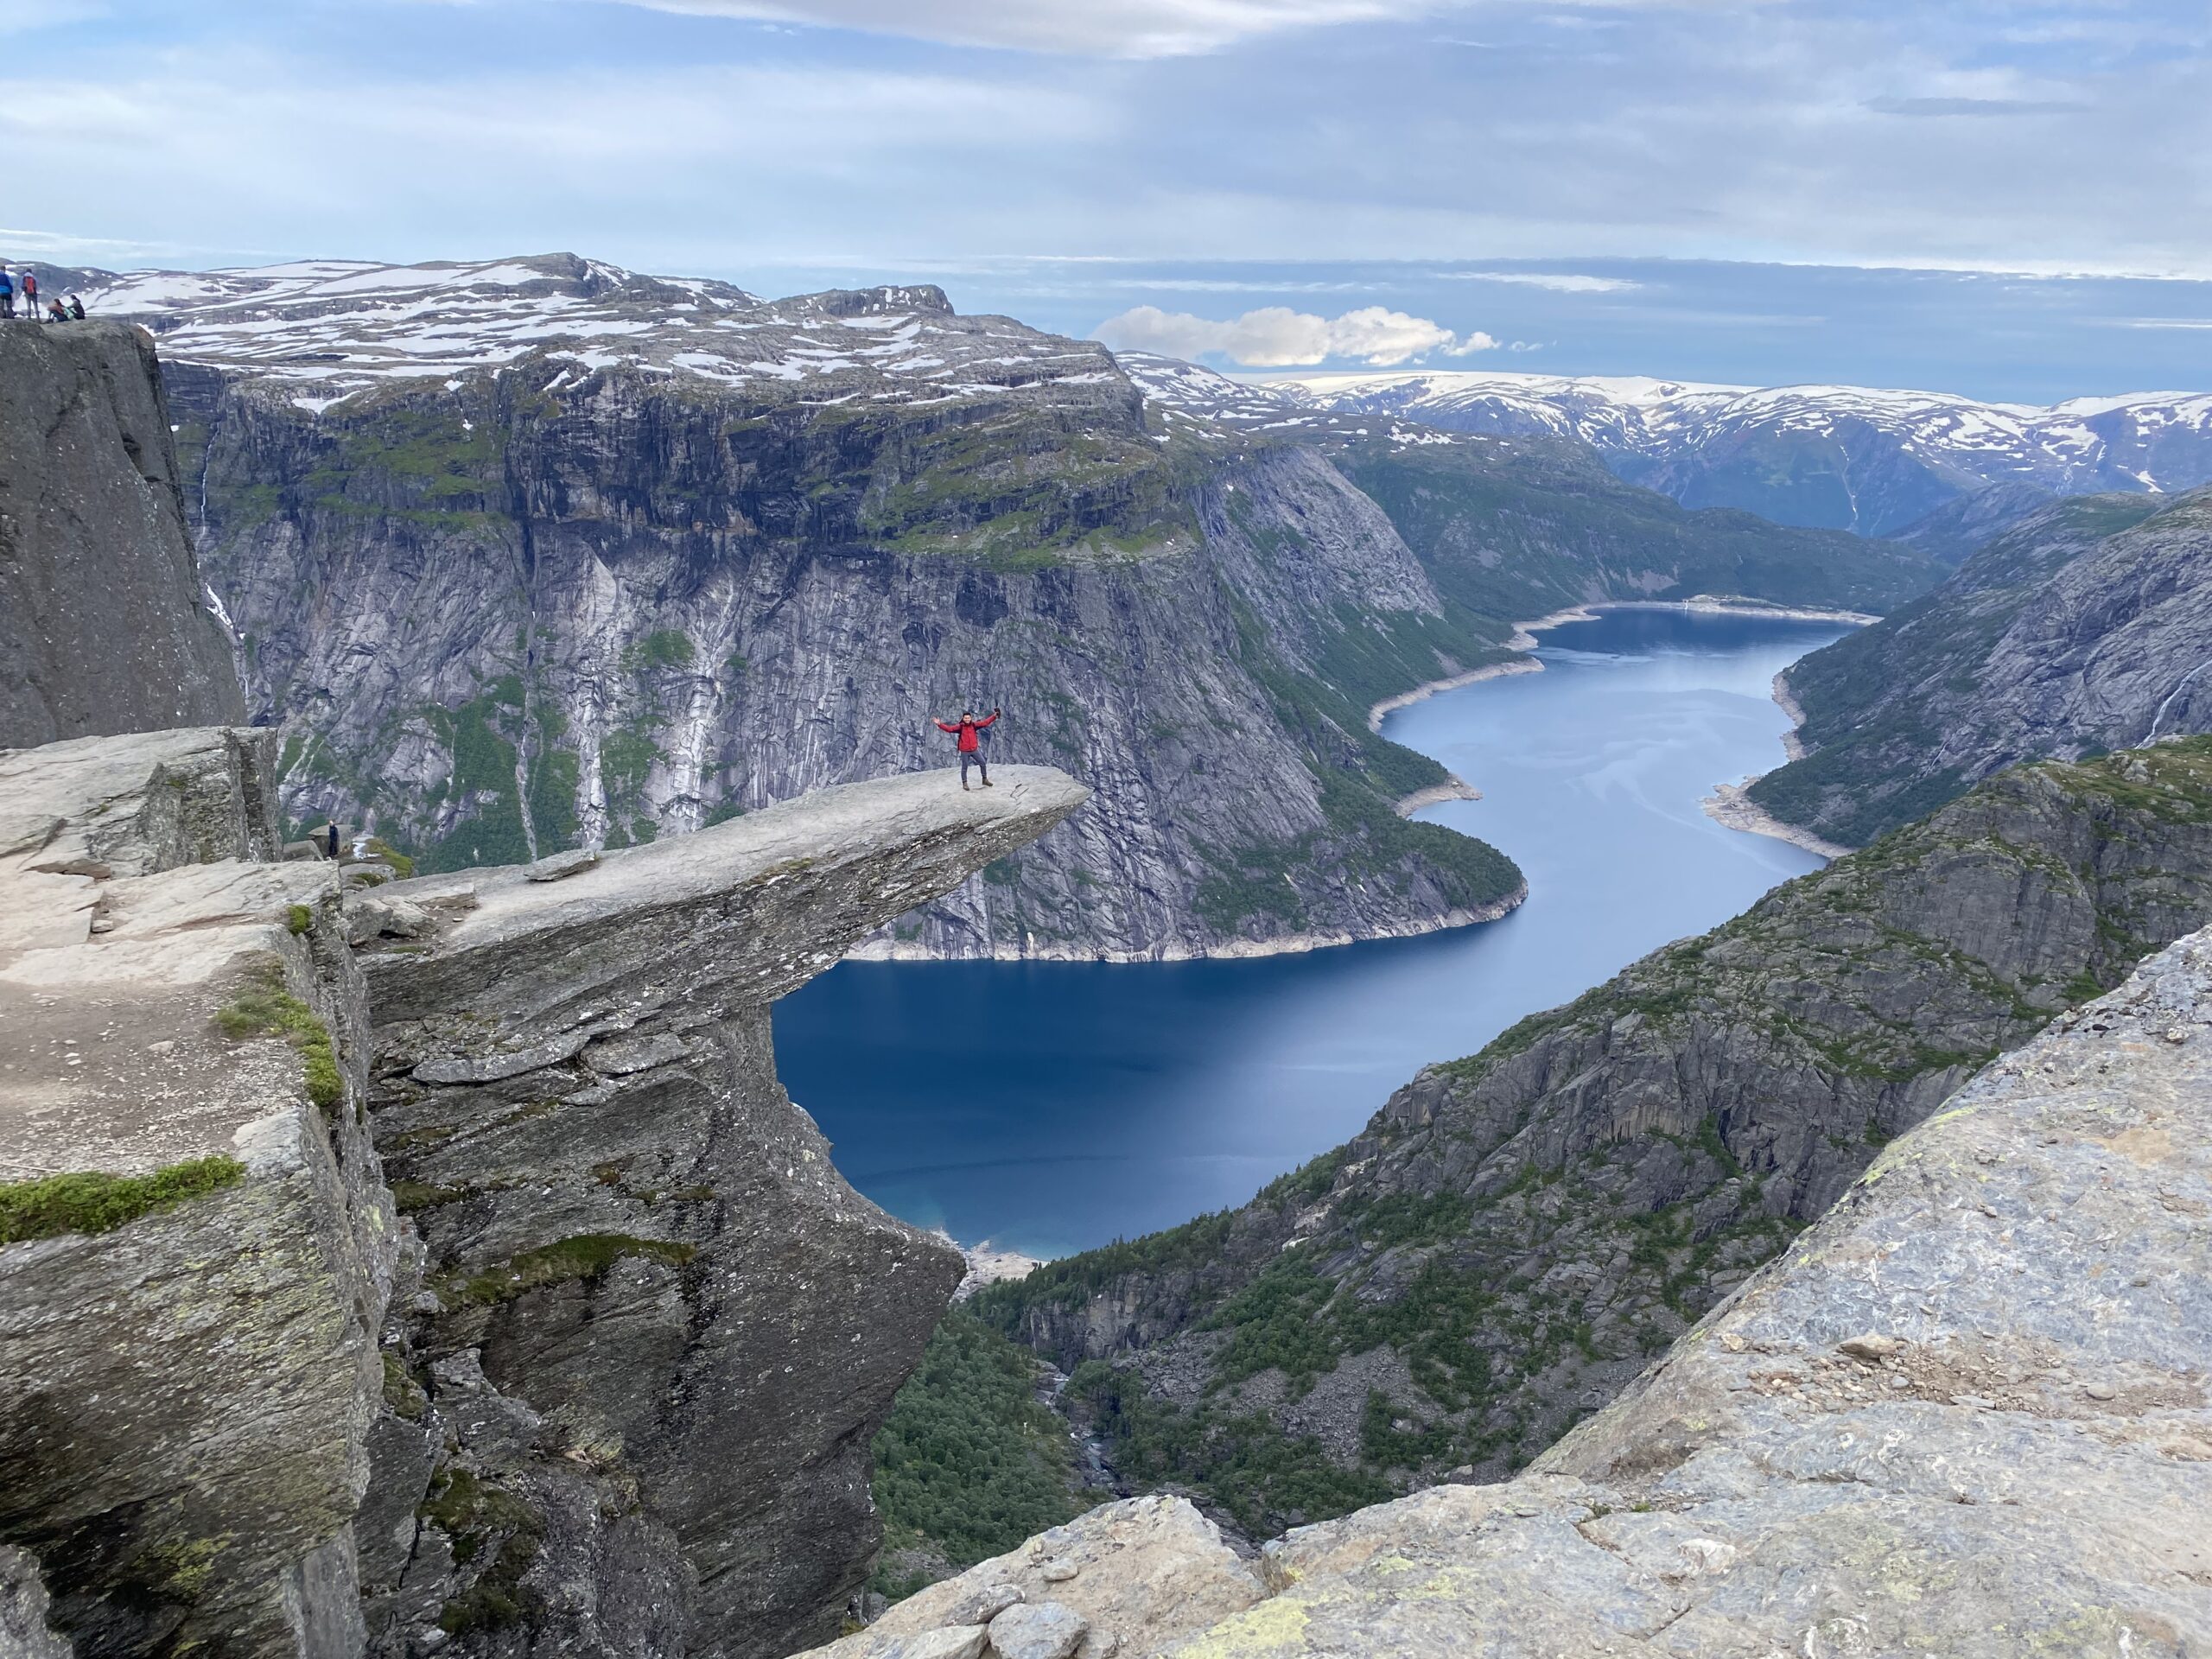
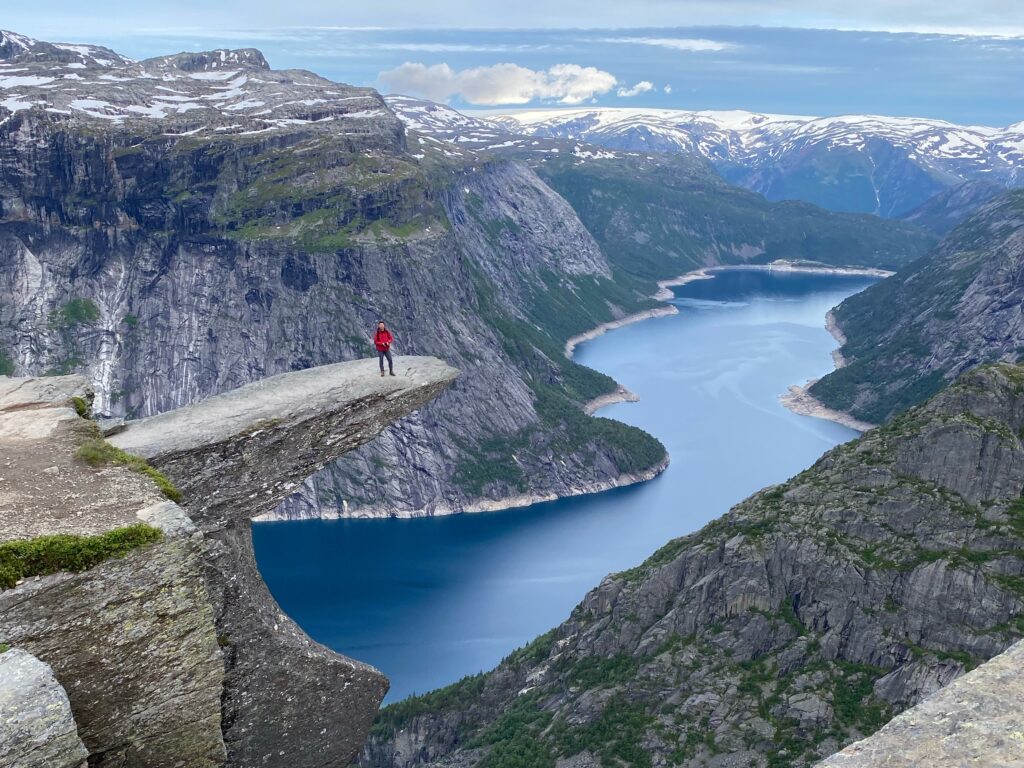
Trolltunga is a jagged rock formation in the Ullensvang Municipality, in Norway’s western fjords. This 28km long trek is one of the most popular hikes in Europe, and for good reason. The entire hike is scenic, with spectacular views along the fjords. The hike finishes at the “Troll’s Tongue”, a thin segment of rock which juts out from the cliff side, a dizzying 700m above the fjords! This not only is a rare feat of nature, but provides for truly one of the most beautiful hiking views in Europe, and a creative photo opportunity that will have your friends and family wanting to follow in your footsteps.

This blog will provide you with a basic guide to hiking Trolltunga so that you’re adequately prepared and informed on what to expect on your trip. If you are an outdoors or hiking enthusiast and have the time to visit Trolltunga, this is certainly a hike not to be missed!
LOGISTICS/SATS
Distance: 28km (18 miles)
Elevation: 800m (2600 ft)
Difficulty: Moderate/hard
Time length: 10-12 hours (8 hours for experienced individuals)
Best time to visit: 1 June – 31 August open season (compulsory guide required if hiking outside this time period)

WHEN IS IT SAFE TO GO
Trolltunga’s open hiking season runs during the European summer from June 1 – August 31 – just a three month window. During this time weather conditions are more favorable and you don’t need a guide to do the trek. All other times of the year, hiking with an experienced guide is necessary due to dangerous and unpredictable conditions in the off season.
For more information on the hiking season you can access the Visit Norway website here:
Weather-wise I personally had a good run on my Trolltunga hike, with no rain and beautiful sunshine throughout. What a dream! But it is important to keep in mind that even during the summer months; conditions on the in the mountains can suddenly change.
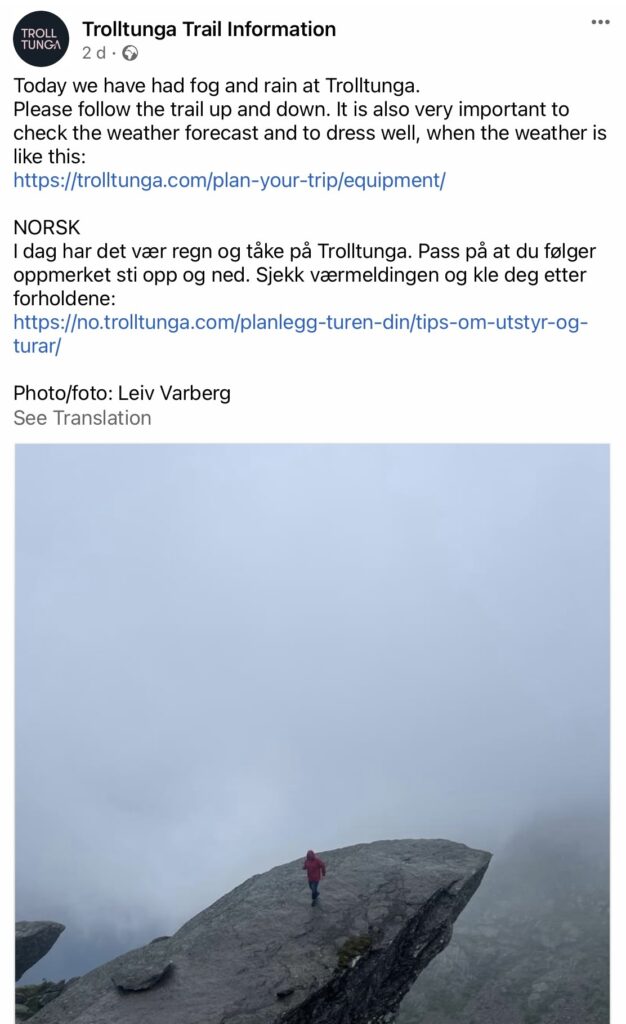
The Trolltunga Trail Information Facebook page posts daily updates, giving hikers notice on what weather to expect leading up to their hikes. This can be your one-stop source to getting reliable weather updates and easing your anxiety about what conditions to expect when you go.
PACKING LIST
Being adequately prepared for Trolltunga is the first step in ensuring you minimize running into issues during your hike. Attached is a quick sample packing list of things to bring to give you an idea.
Essentials:
- Good hiking boots
- Hat/sunglasses
- Sunscreen
- Plenty of water (2-3L minimum per day)
- Hiking snacks/food
- Head torch
Miscellaneous Items:
- Passport (if travelling from overseas)
- Driver’s license (if hiring a car)
- Bank cards
- Medications
- Blister plasters/tape
Clothing:
- Quick dry shirts and hiking-suitable trousers (one spare pair if on day hike)
- Long sleeve base layer shirt
- Thick weatherproof jacket
- Raincoat
- Scarf, gloves and beanie
- Extra pairs of socks
Electronics:
- Cellphone
- International adapter
- Chargers for cellphone/electronics
- Power bank
- Headphones
- Cameras/drones
Camping:
- Tent
- Good sleeping bag
- Head torch
- Two extra sets of clothes (one should be an insulating layer to sleep in)
- Toilet paper and a folding shovel – if you need to go, you need to go!
Toiletries:
- Toothbrush/toothpaste
- Travel soap
- Wet wipes
- Hand sanitizer
- Deodorant
Cooking:
- Mini stove
- Camping pots
- Cutlery
- Plates/bowls
Food (sample list):
- Heatable camping food packs
- Microwave rice
- Canned food
- Fruits
- Bread rolls
- Energy bars
- Milk in tetra packs
- Granola
HOW TO GET THERE FROM OSLO
The most common (and cheapest) option to get to Trolltunga from Oslo is by bus if you don’t have a personal car. I took the NOR-WAY Bus Express which offers several daily trips to Trolltunga in the high season.
Attached here is the website link to book your NOR-WAY bus tickets online: https://www.nor-way.no/en
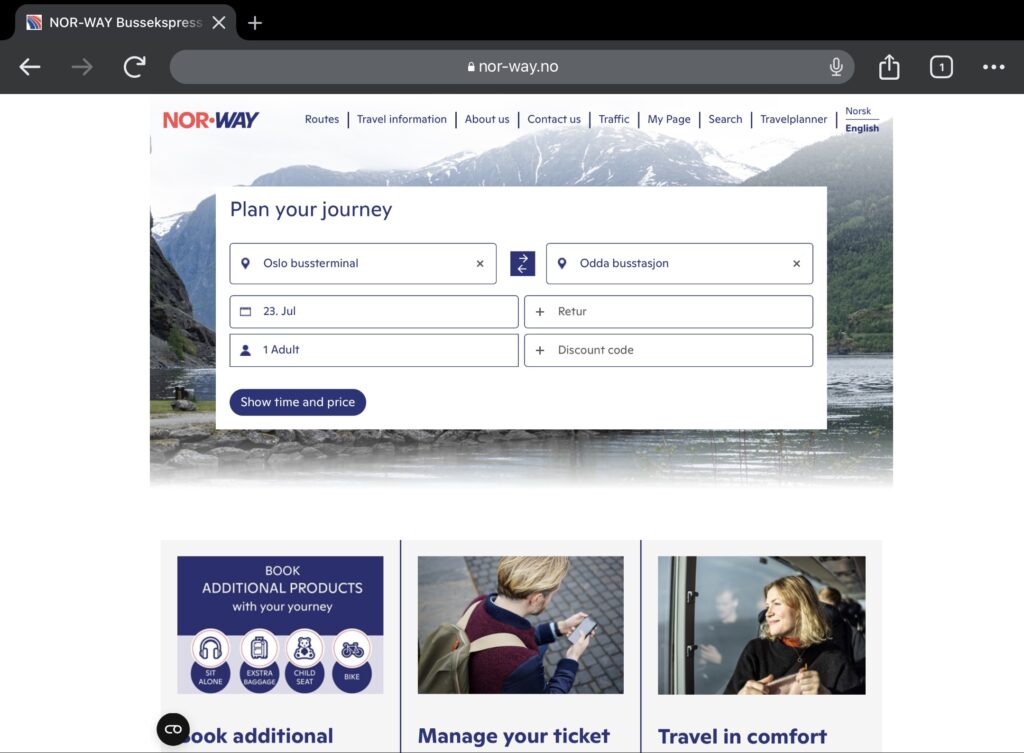
The journey takes 6 hours from Oslo terminal to Odda (the nearest bus terminal to Trolltunga). Once at Odda terminal you change to an awaiting bus which takes you the remainder of the journey to the town. You then take a shuttle from Odda town to the car park of the hike.
When travelling in the high season, be sure to book your bus 4-5 days in advance to avoid tickets selling out! Prices vary depending on the time but you can expect to pay 1000-1200 nok (roughly 100USD) for a round trip.
Despite the long journey, I actually found the bus trip entertaining due to the dramatic scenery! The Norwegian forests, roaring waterfalls forged by thawing ice and snow, and weaving through the snow-capped mountains as you near Odda were all a spectacle to witness, especially for me who had grown up between Australia and Philippines – countries with completely different landscapes.
Other options include hiring a car or shuttle. For the car option, you’ll be required to pay for parking. There are three car parks, P1 Tyssedal, P2 Skjeggedal and P3 Mågelitopp. Each park is priced depending on its proximity to the trailhead, with P3 being the most expensive. Attached is the official Trolltunga Website which provides a breakdown of these prices.
Website here: https://trolltunga.com/parking-and-transportation/parking/
THE HIKE – how it went
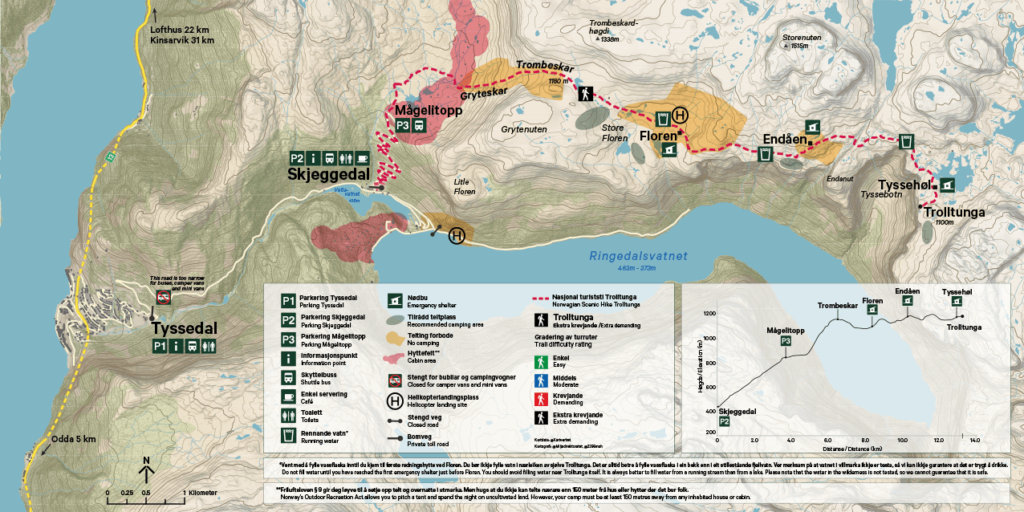
The beginning of the hike has the option of starting from P2 Skjeggedal carpark where the bus from Odda drops you off; or for an extra charge and head start, getting a lift in a shuttle bus to P3 Magelitopp car park, further up which costs roughly 200kr ($20 USD).
Funnily enough, the most brutal part of the hike for me was not on the hiking trail itself; it was walking up the first winding bitumen road from P2 to P3! Now this steep monstrosity of a trail may not even look like part of the hike (it’s a bitumen road) but to get to P3 it is 4km and 400m of elevation – not fun!
Taking the shuttle bus saves enduring this grueling first leg. It is not a bad investment if you don’t mind cutting the distance! After this you’ll arrive at Magelitopp car park where you leave the road at the trail head and begin the off-road trek to Trolltunga. I’m not saying the rest of the hike is a breeze, but if you decide to brave the first ascent, then things get easier. The worst is behind you.
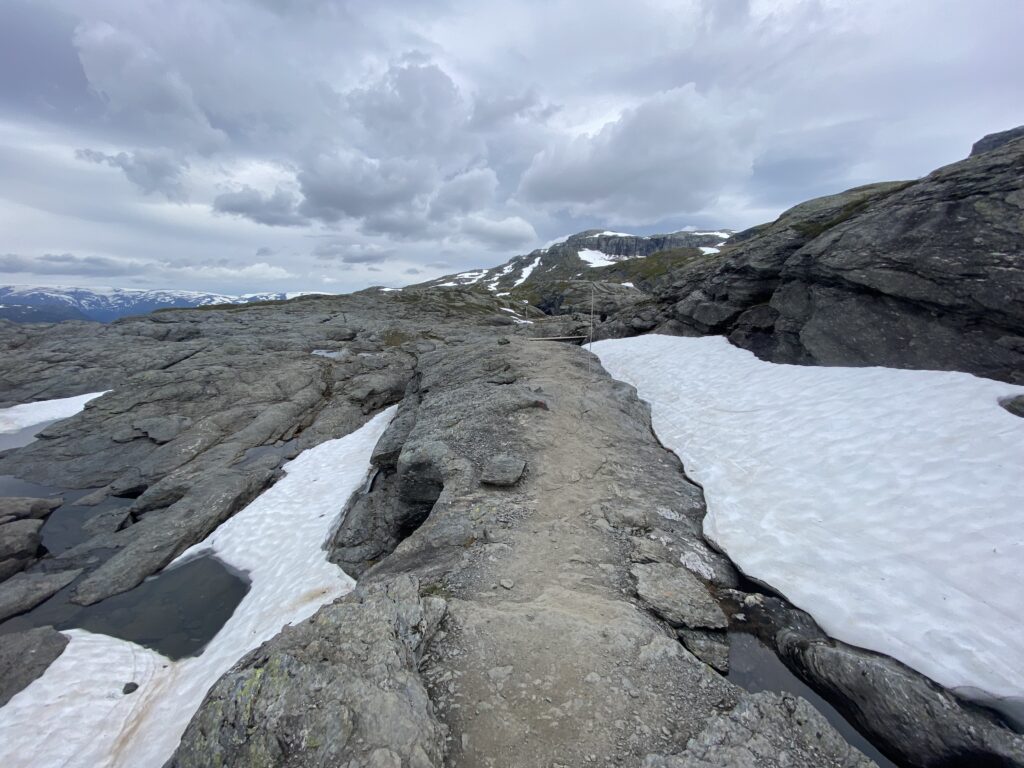
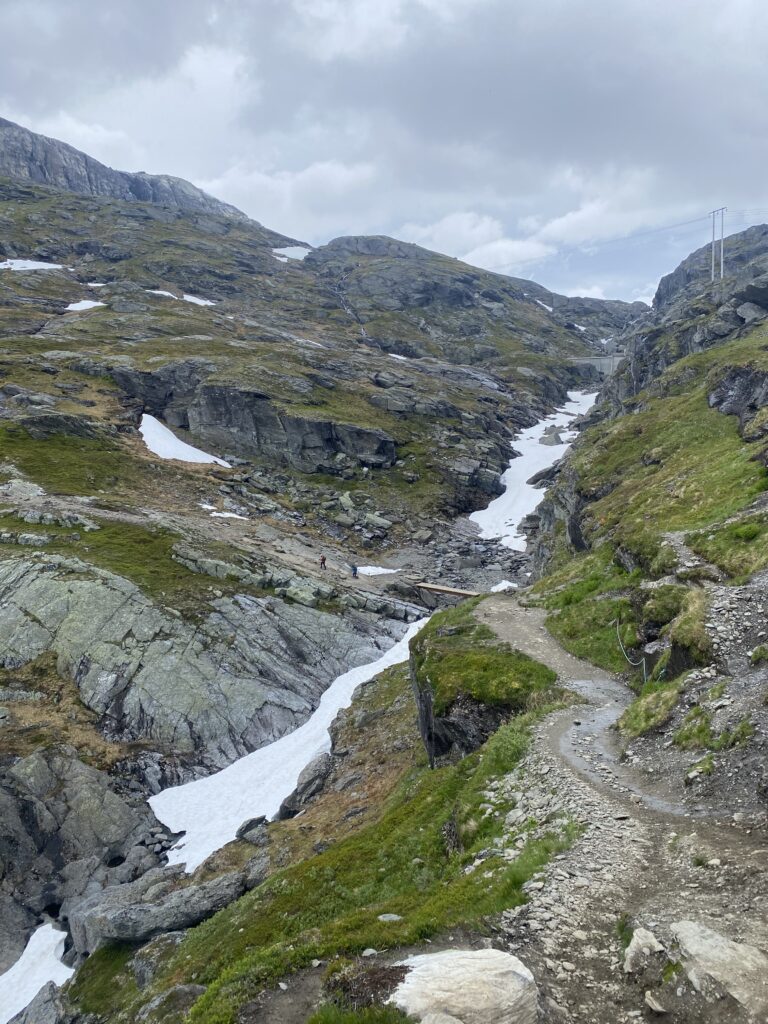
The trek is well marked in most places, initially with metal poles, painted rocks and cleared paths on the terrain, but in snow or bad weather these can change. The trail is quite rocky in places, and there are damp and mossy slopes which can be very slippery! Bring good walking boots with ankle support, and take care, particularly in the wet to avoid injury.
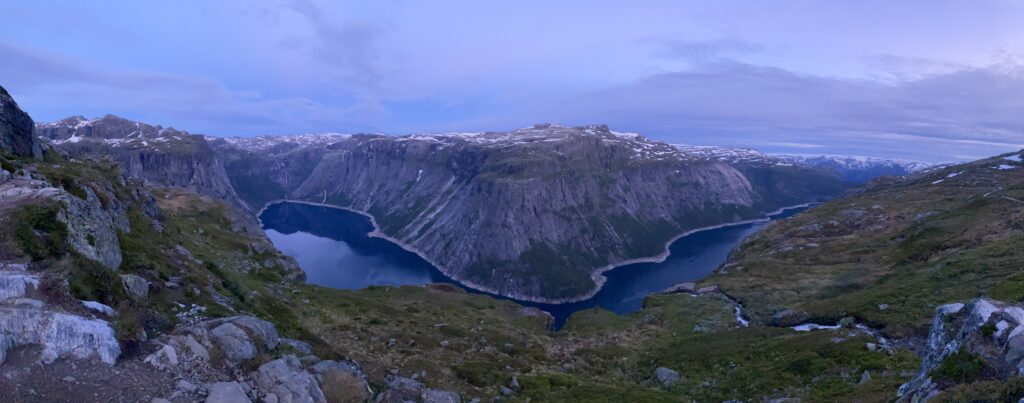
There are several smaller climbs after the initial ascent but these are not as steep. There is no scrambling needed on this hike and the trail is clear of debris. You’ll also come across the occasional bridge, built for your ease of transit over ditches and obstacles.
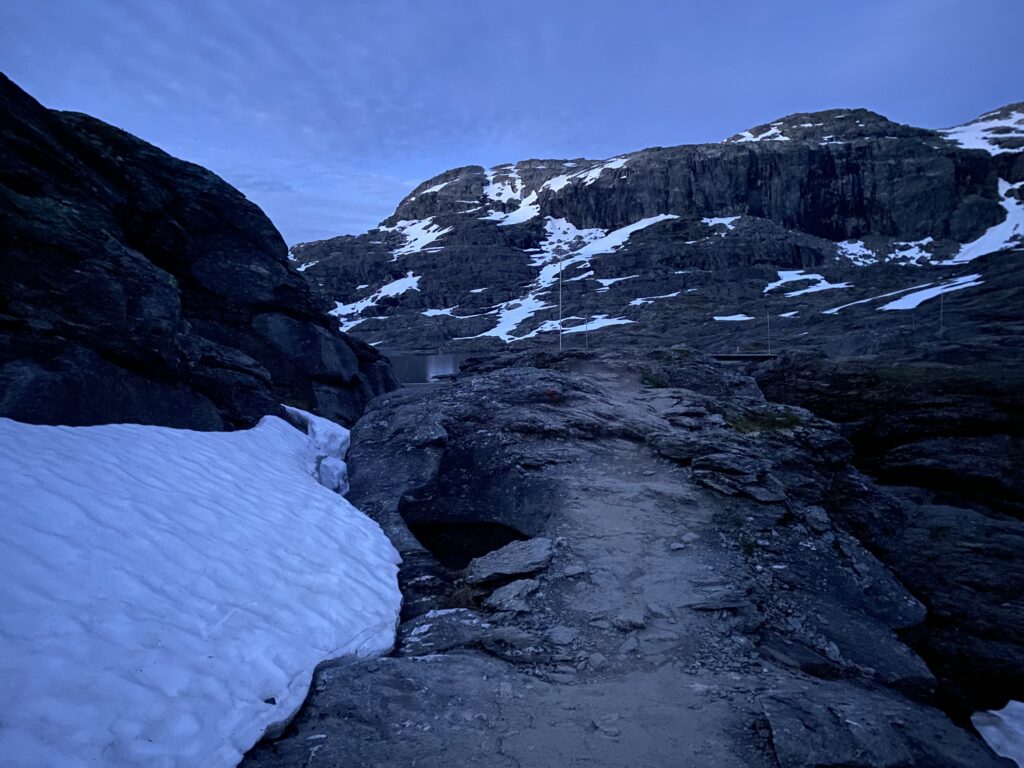
At the time I did the hike in July there were still large pockets of melting snow along the trail. This snow is from the mountain tops and you can stop to fill your bottle from the streams snaking their way down the mountainside.
WHO CAN DO THE HIKE
Hiking experience is preferred but not necessary. During my time on the trail I passed by people of all ages and fitness levels, including elderly hikers and families with young children. Provided you have a satisfactory level of physical fitness and no serious medical conditions, this hike is for just about anyone who can walk the distance.
During the day in high season there are plenty of people about on the trail, most of them with the aim of hiking to and from Trolltunga within the day. I found taking regular rest stops allowed more time to relax and appreciate the scenery. Getting to the destination is one thing, but enjoying the journey is certainly not to be overlooked, the whole hike delivers incredible views which give you an added appreciation for this place.
For most, the hike there and back will take 10-12 hours. Individuals who are fit however, can complete the hike in 7-8 hours.
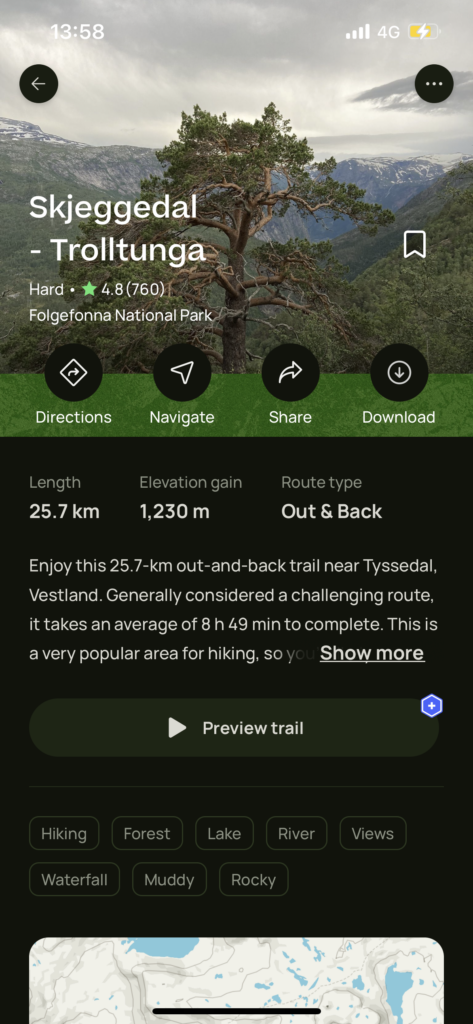
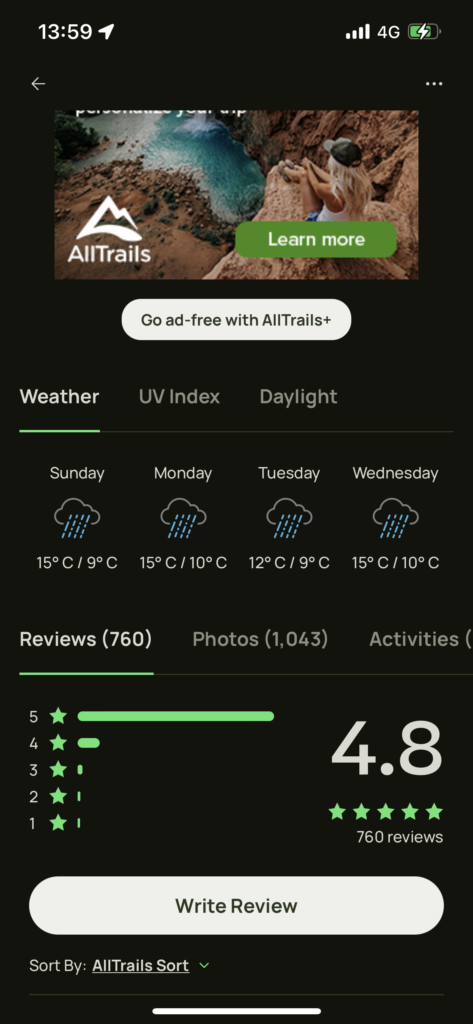
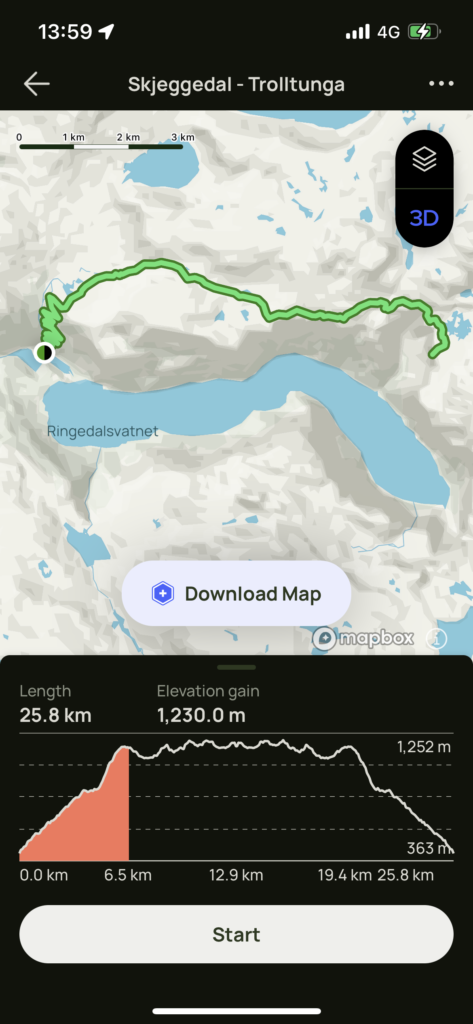
I’d highly recommend downloading the Alltrails app to your phone and save an offline version of your hike before embarking on it. This allows you to track your progress on the trail and is packed with useful information like weather updates, detailed descriptions and even reviews/photos of other peoples experiences on the trail!
HOW BUSY IS THE DESTINATION?
Trolltunga is a popular hiking destination, particularly during the high season months. During the day it can get very busy, with waits of up to an hour to get photos on the Troll’s Tongue.
Since I stayed overnight and camped, I got my photos in the morning with the few other campers present. There was no line and no rush at this hour, and we were greeted by the sunrise over the fjords. At roughly 8am, the day hikers who had started early that morning began arriving and a line quickly formed for photos. I packed my tent and left shortly after this. One of the other hikers who’d stayed the whole of the previous day advised that he’d waited in line for more than an hour before he could walk onto the Troll’s Tongue for his photos, so do keep this in mind if you are planning to do the hike in the day.
STEPPING OUT ONTO TROLLTUNGA
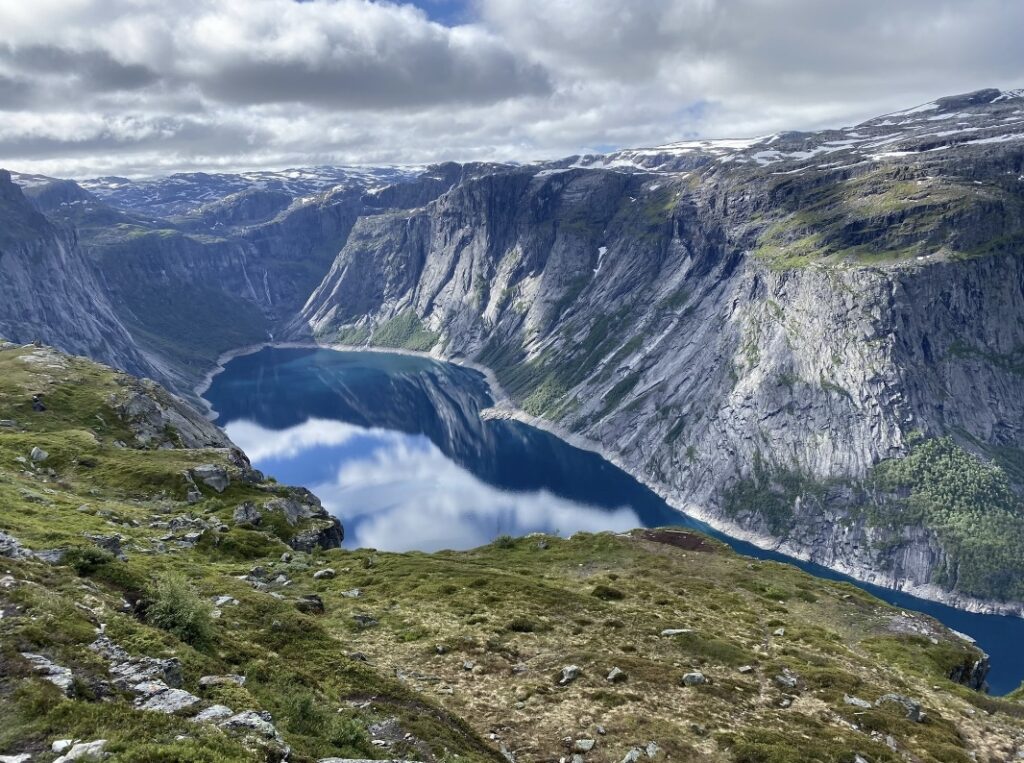
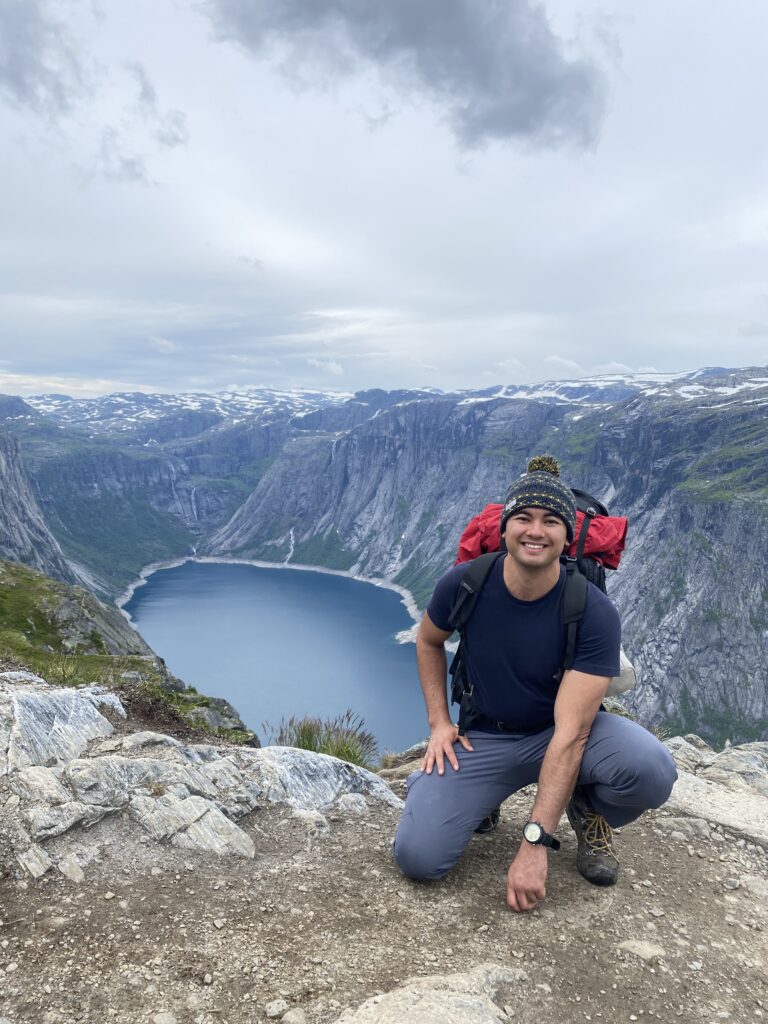
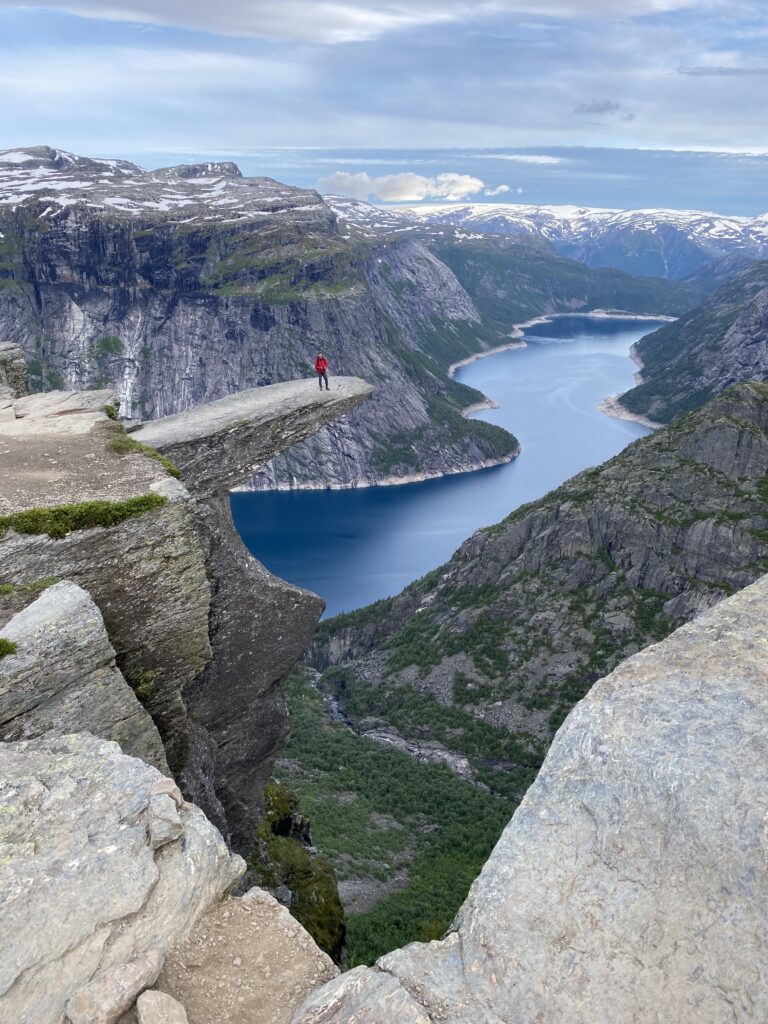
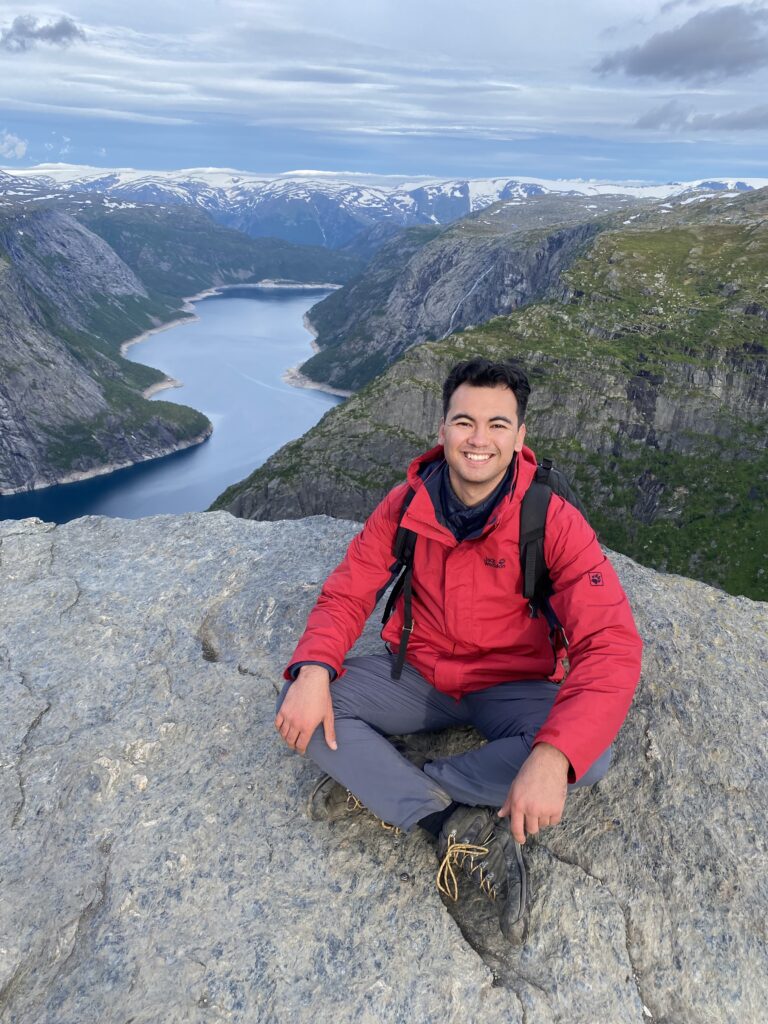
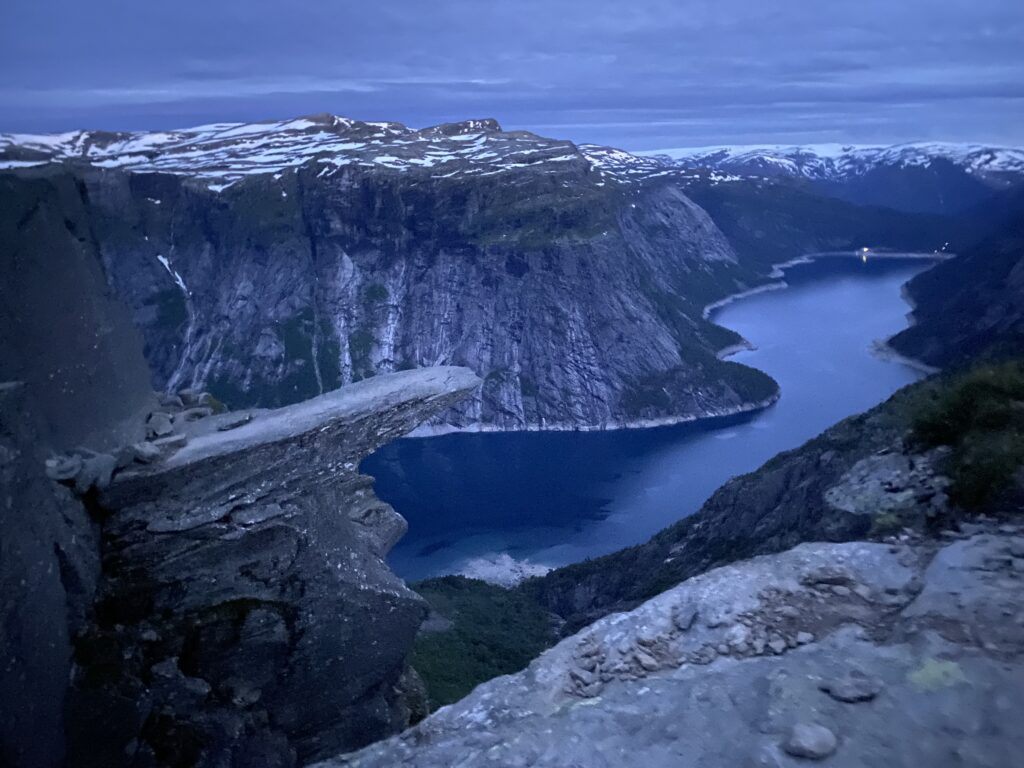
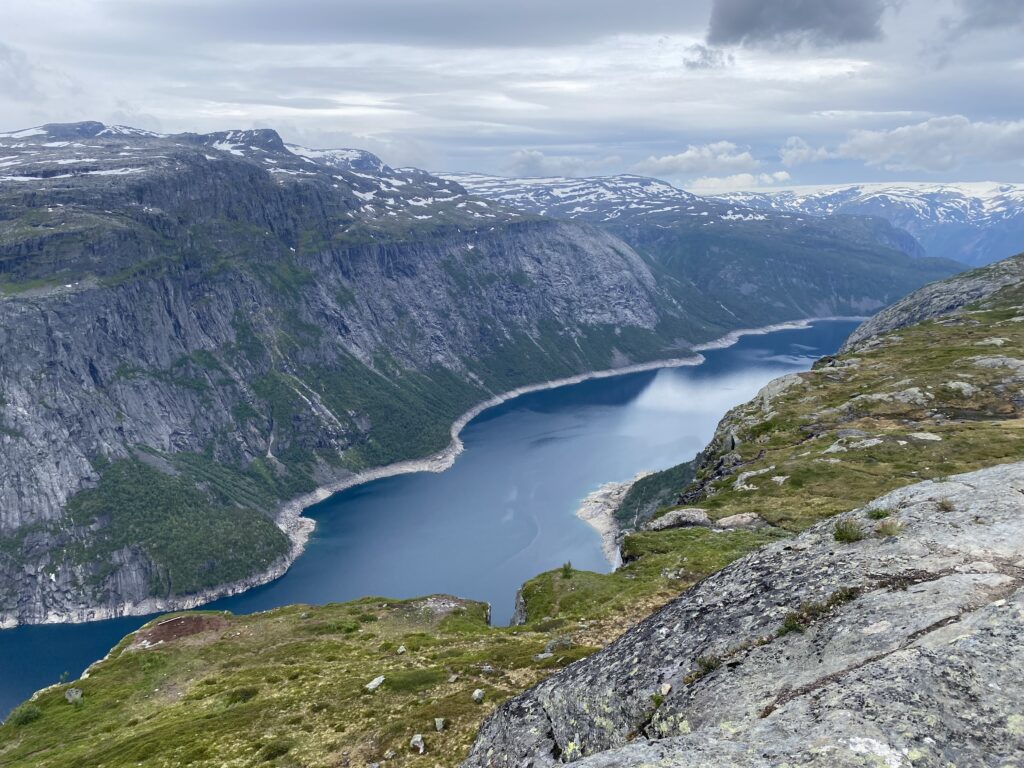
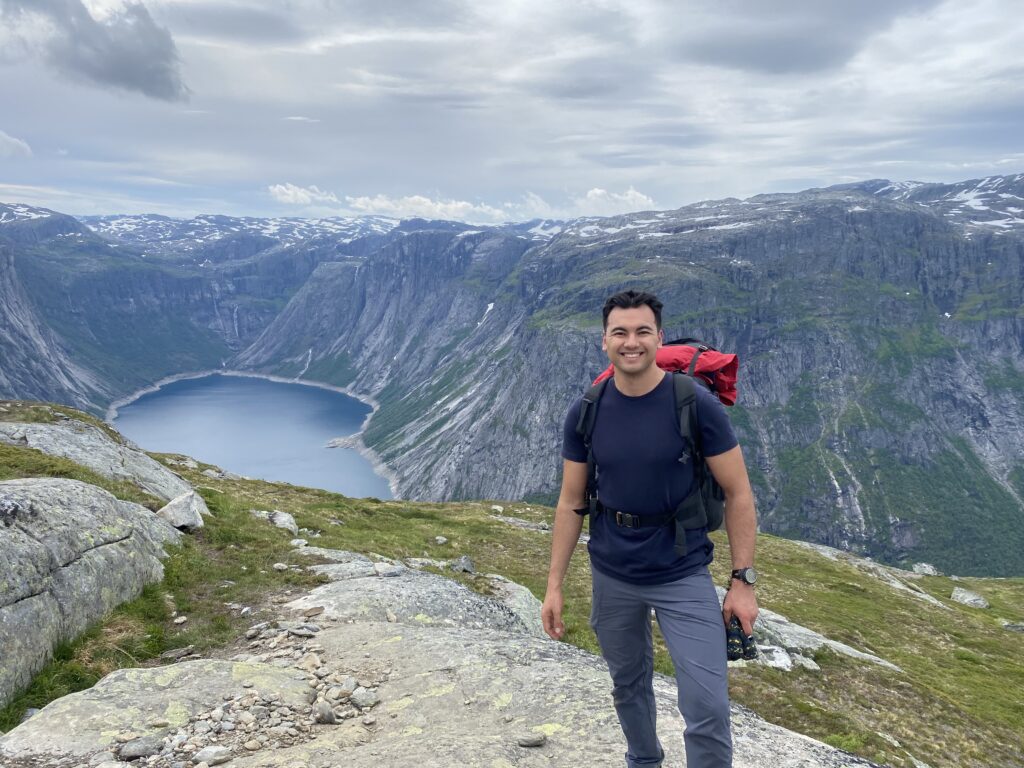
Arriving at Trolltunga you’ll be met by the sight that made your sweat and tears worth it – the view of the “Troll’s Tongue”. Adding to this spectacle is the pristine backdrop of Lake Ringedalsvatnet and the fjords.
The popular photo travelers take is where hikers step out onto the Troll’s Tongue jutting out from the cliff side, giving it the dramatic appearance of stepping far out onto a perilous cliff ledge.
In reality, stepping out onto the Troll’s Tongue feels more secure than you’d think. The width of the rock is several meters across and for most people, the sheer size and mass of the rock gives them comfort it’s a stable platform to be on. Obviously you step out at your own risk, but rest assured there’s no need to dread a significant life or death risk in getting your photo – this is probably still not for those with a crippling fear of heights!
Some travelers like to get photos sitting right at the edge of the rock. This goes without saying but do be careful getting close to the edge. If you slip off it’s a long way to the bottom, and it’ll be the last thing you do.
CAMPING OVERNIGHT
If you have the time, I would absolutely recommend staying overnight! This is for two significant reasons.
- It allows you to take your time and fully appreciate the views of the destination, and Trolltunga itself
- Staying overnight at Trolltunga gives you the opportunity to watch the sunset and sunrise over the fjords, as well as be present at the attraction without the busy day time crowds
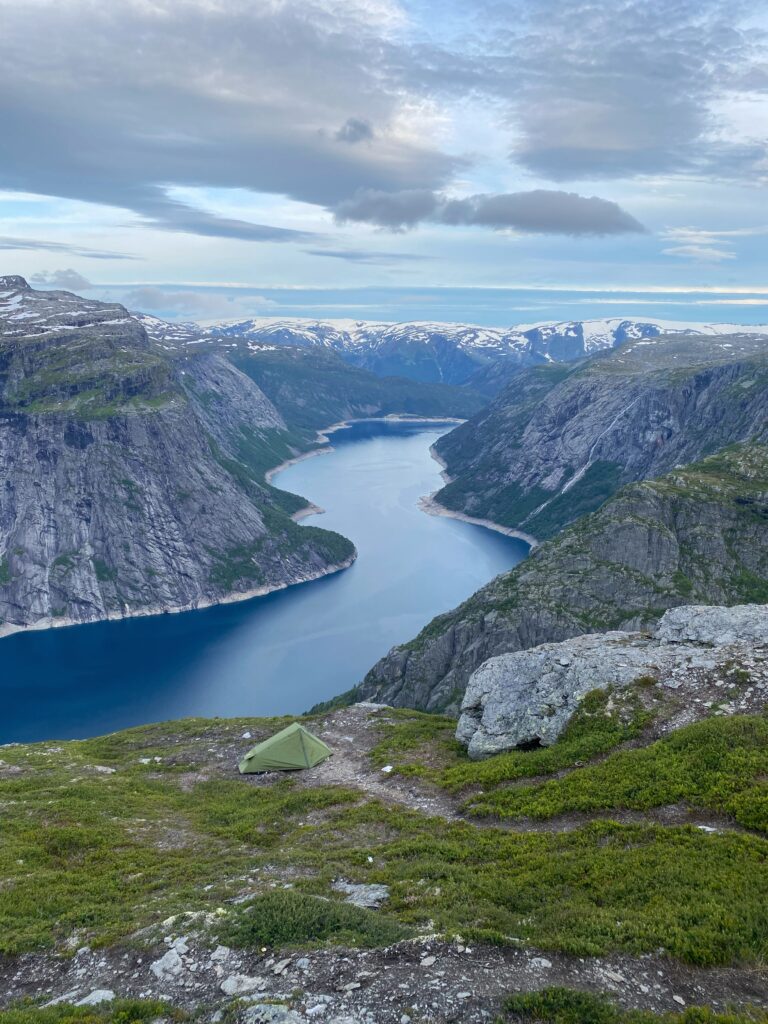
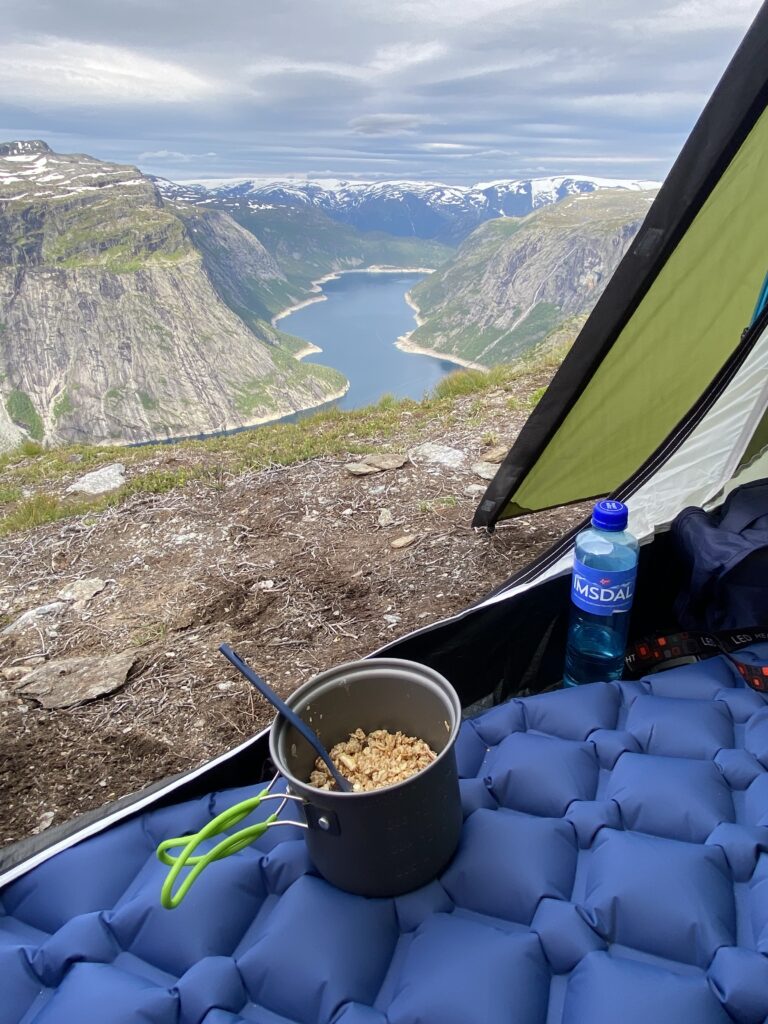
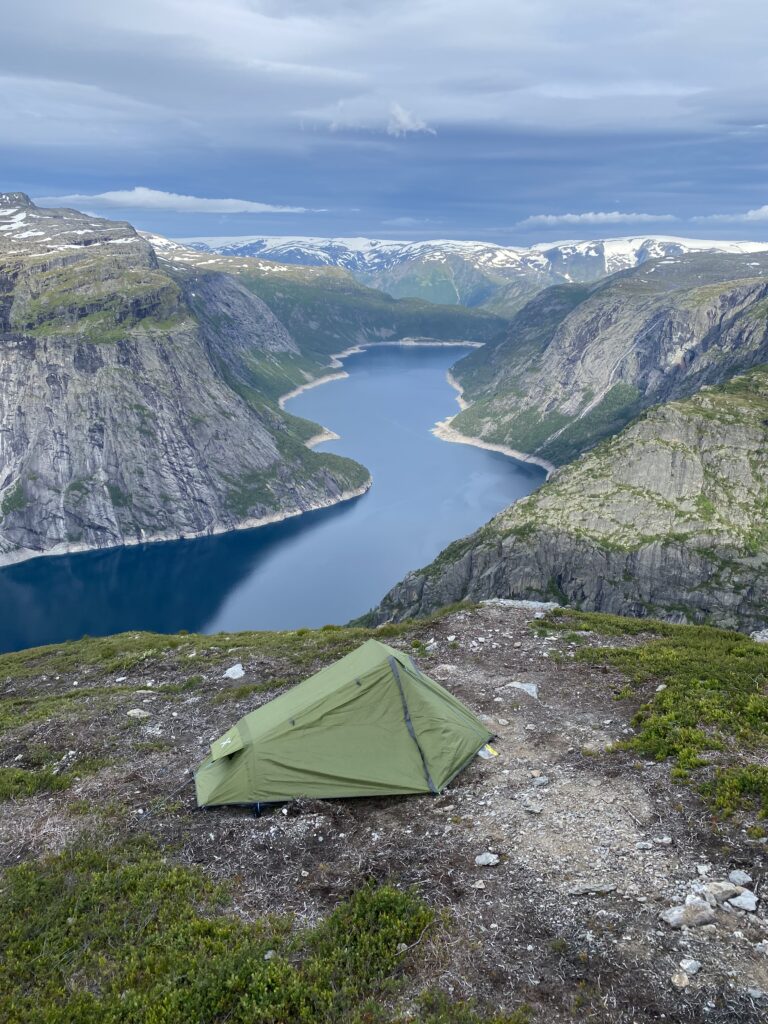
Wild camping is allowed at Trolltunga and the camping area is located just past Trolltunga on a flat portion of the mountainside. When I ventured here in busy July there were dozens of tents in the area. Despite the numbers, there is plenty of room on the cliff side for everyone to find their own private space with a view out over the fjords. Waking early the next morning to a glistening sunrise over the fjords will forever be a core memory of mine.
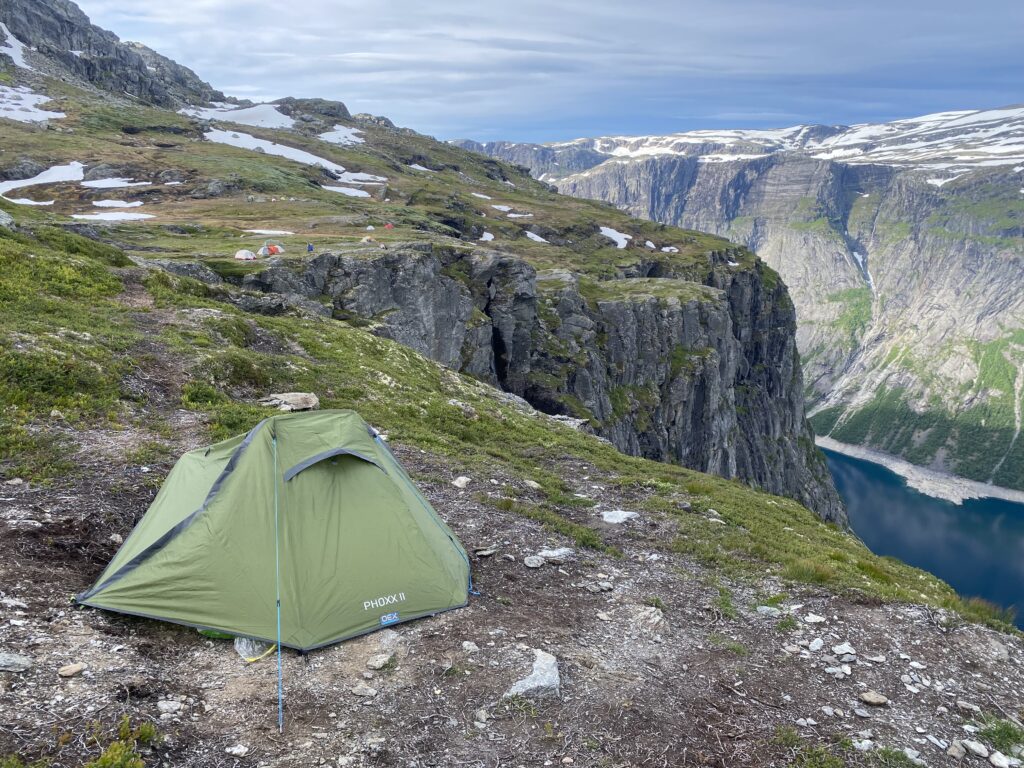
Whether you’re a seasoned outdoors person or camping is a new thing for you, here are some important considerations (and things I learned the hard way) when staying the night at Trolltunga.
TOILETS/FOOD FACILITIES
There are no toilets on the trail or at the destination so be sure to stop by the public toilets at P2 Skjeggedal before starting your hike. Your bowels will thank you later for this!
There are also no food/service facilities on the trail. There’s a small food and souvenir shop at P2 which sells snacks. Norway is already not a cheap country – but this store is particularly expensive! So keep this in mind when factoring in last minute rations for your trip.
The only structures on the hiking route itself are several bridges and a weatherproof shelter roughly 2/3 of the way along the route for hikers trapped in bad weather.
WEATHER
Daytime temperatures in the summer are lovely (about 15-20 degrees when the sun is out) with the need occasionally for extra layers depending on time of day, cloud cover, wind and rain. I found I had a jacket on for some of the return hike due to cold and cloudy weather.
Night temperatures were a different story. Typically it drops to 5-10 degrees on summer nights. Wind and rain can exacerbate the cold. However, when I went the temperature was near freezing, despite it being summer!
I was clearly not prepared for it to be THIS cold so take my advice and do bring a good sleeping bag and extra layers! The last thing you want is to be so cold at night you’re tattering, throwing on your wet hiking boots and all your layers in the tent, and still can’t sleep (*cough* Iceland flashbacks).
Quick tips & reminders
Some final points to recap!
- Use the toilets at P2 Skjeggedal before embarking on the hike
- Bring plenty of water! At least 2-3 litres per person but you can refill at streams along the way if you judge it safe to do so
- Bring good hiking boots, preferably waterproof and with ankle support. Walking shoes get wet easily in the snow and rain. You will thank me later
- Bring adequate warm layers, even in the summer months. The weather can change suddenly and it is always colder in the mountains than at your starting point
- Always check the weather forecast! Don’t proceed on the hike if there is bad fog, snow or storms forecast
- Take only photos, leave only footprints – remember this is a national park so keep the place beautiful for others to enjoy
- And finally, don’t forget to take rest stops and enjoy the view!
SUMMARY
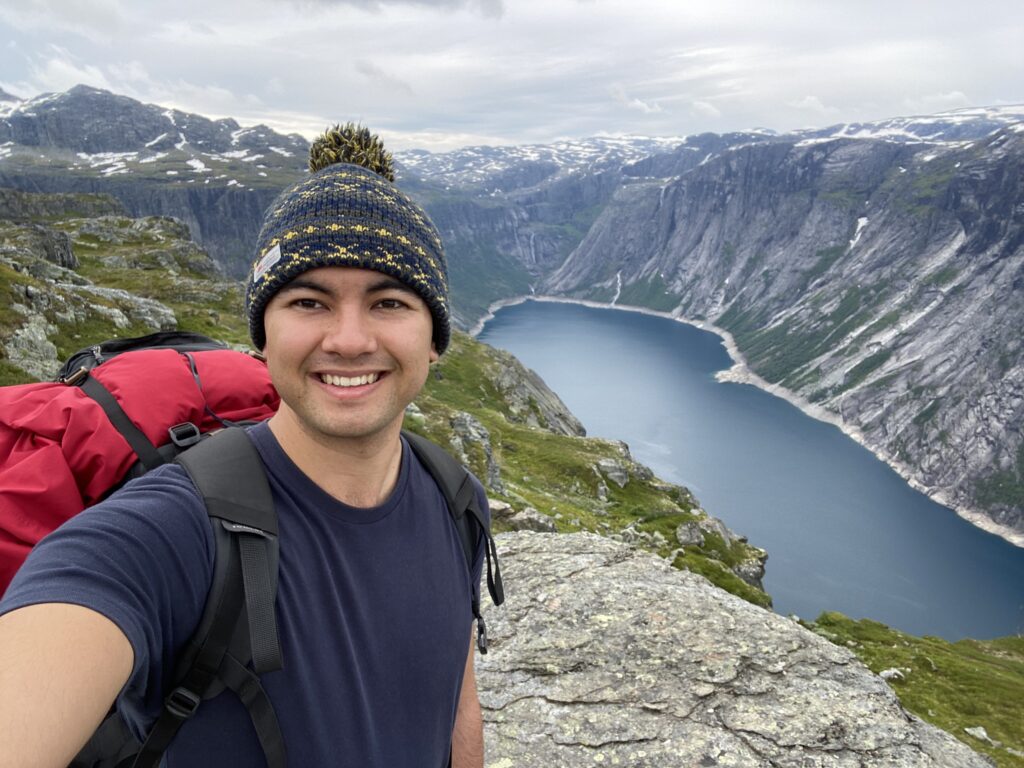
The trek to Trolltunga takes you through some incredible landscapes and despite being one of the highest trafficked hikes in Europe it still maintains its natural charm and beauty. This hike was actually the reason I traveled to Norway in the first place and to date it is still one of the most pristine landscapes I have ever seen.
If you’ve been on the fence still with whether you want to go, take my word for it – you won’t regret this trip!
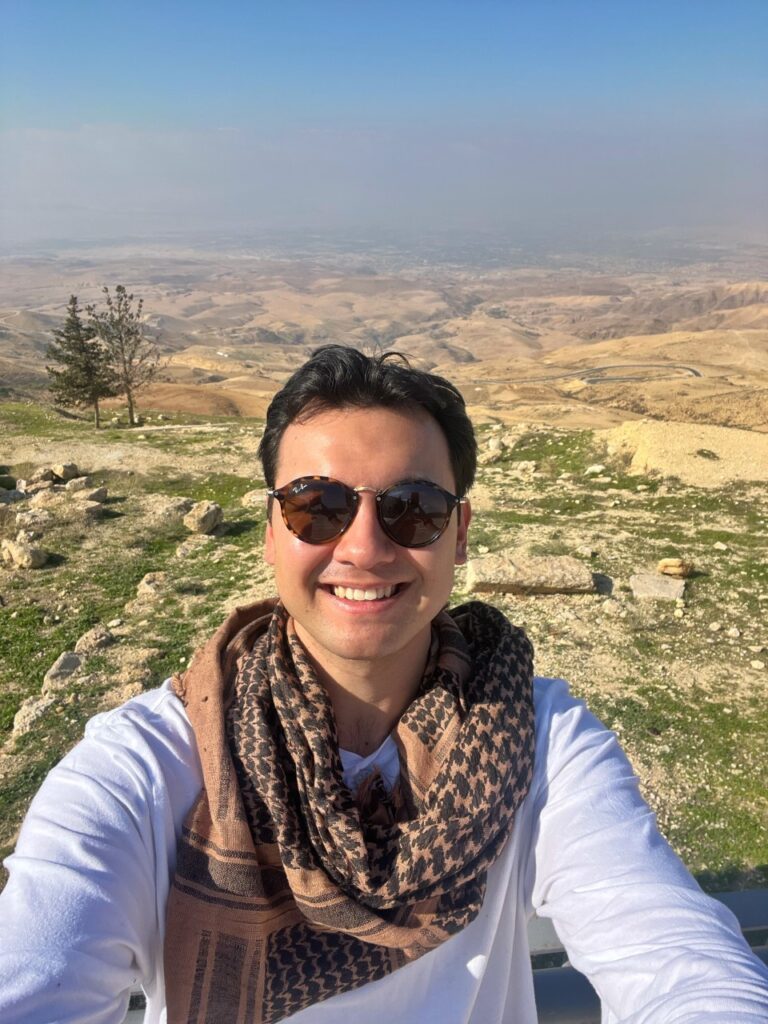
I’m Anthony, a twenty-something
year old who is originally from the Philippines/Australia. For the past three years, I have been living and working in the medical field in London. In my free time, I explore the world.


